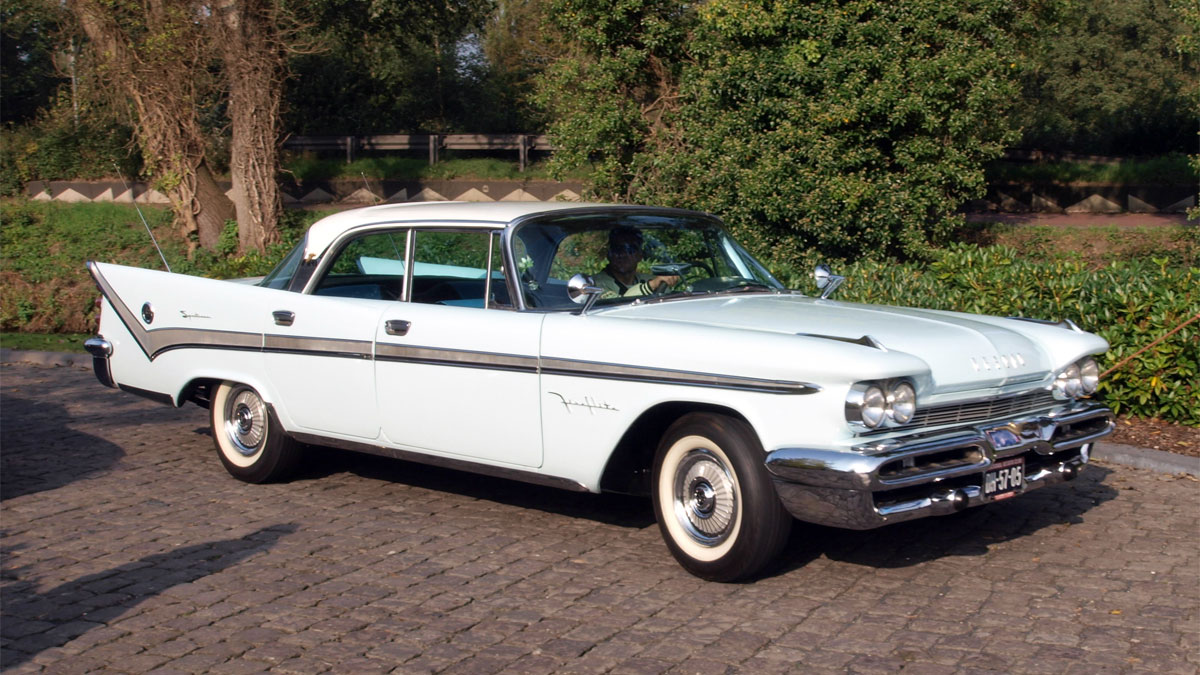
With storms looming and winter just around the corner, it’s time to store your classic car for the cold months ahead.
Classic cars require a little extra care when it comes to winter storage, and while it might be a time-consuming process, the steps are important to help ensure optimal performance come springtime.
A national survey conducted by STA-BIL fuel stabilizer, found that 97 percent of consumers know that properly storing their classic cars in the offseason will help them run their best when they take them out of storage when temperatures rise.
However, almost 75 percent of people reported encountering problems when taking their cars out of storage due to incorrect steps taken during storage.
Classic Car Winter Storage Tips
To help owners quickly and effectively prep their classic cars for winter storage, Tom Bingham, STA-BIL’s director of marketing, certified mechanic and power equipment industry expert, has some helpful tips to ensure classic cars are properly prepped and stored.
Taking the time now to properly store your car will save time and money in the long run. The following are seven key steps classic car owners should take to store their vehicles during the winter:
1. Clean It Inside and Out
Give the car a good detailing both inside and out. It’s important to remove as much debris and dirt as possible before storing the car, so that it isn’t exposed to the winter elements without protection.
After washing and drying the car, it’s a good idea to also add a coat of wax to all painted and chrome surfaces for an added layer of protection. In addition, protect all rubber areas of the car, so they don’t crack in the cold weather.
2. Replace the Engine Oil
When in use, owners should change the oil per their manufacturer’s recommendations, but prior to storage, it’s important to change the oil even if it was recently changed.
Old oil contains contaminants, like moisture and acids, which will pit bearings and other engine parts. Before changing the oil, allow the engine to run briefly to warm the oil, as more old oil and contaminants will come off.
Read Also – Motor Oil Disposal Guidelines
3. Lube Joints and Bearings
To help keep pivot points and bearings from rusting or seizing up, grease the bearings found on the wheels, the steering components and suspension.
4. Stabilize the Fuel
Fuel can deteriorate in as little as 30 days causing gum and varnish build-up in engines, which can result in hard starting engines, poor performance and a reduction in engine life. Add fuel stabilizer to fresh fuel to remove water, clean fuel injectors, and to keep fuel fresh all winter.
Fresh fuel protects the engine from gum, varnish, rust, and corrosion and makes for an easy start come spring.
So before you store, first add the fuel stabilizer (use 1 oz. to every 2.5 gallons of gasoline for STA-BIL® Brand). Then fill the tank 95 percent full of fresh fuel. This allows the fuel stabilizer to mix with the fresh fuel.
Make sure to NOT top off the tank because when it gets warm again, the gas may expand, causing spills. Finally, run the engine for a few minutes to make sure the stabilized fuel is pulled into the carburetor and the injectors.
The remaining tiny droplets of fuel are exposed to air, which in turn creates gum and varnish buildup and corrosion on the walls of your system. The build-up can develop in key places that completely inhibit fuel flow or cause fuel leaks and can lead to a variety of engine problems come springtime.
5. Check the Coolant
Checking the coolant in the radiator is often forgotten during the storage process. It’s important to ensure that the radiator is filled with the correct mix of coolant and water, or you could end up with ice in your cooling system.
If you aren’t sure about the proper mixture, check the coolant label instructions.
6. Remove the Battery
Safety first! Always use eye protection when working on a battery! Remove the battery and clean off the terminals with water and baking soda, then rinse them with distilled water.
Store the battery in a cool dry place off the ground, and attach a trickle charger to keep it charged over the winter.
Not doing so will make it much more likely that your car won’t start when the weather starts warming up.
7. Store In a Safe, Dry Location
Make sure to store your classic car in a climate-controlled, dry place that has limited or no light exposure. To reduce moisture and odors, place open boxes of baking soda inside the car and trunk area.
Keep critters (like mice and roaches) at bay by placing a plastic bag over the air intake inlet and exhaust pipes. Your car is all set to sit for the winter months and will be ready to roar come spring.
See Also – How to Detail Your Car Like a Professional
Photos (except featured image) copyright Auto Trends Magazine. All rights reserved.
- 7 Winter Storage Tips For Classic Cars - Dec 13, 2013


